
5 Steps Guide on Formatting Your Book in Microsoft Word

Imagine a book with great content presented in a shabby format! Kills the reading experience, doesn’t it?
But, the nightmare doesn’t end there. In fact, it is likely that you’ll end up losing readers simply because it makes your book look unprofessional.
However, there’s always a silver lining. And, since most of you are familiar with Microsoft Word, we will quickly take you through our 5 step guide on formatting your book using Microsoft Word.
This will not just make it easier but also save you tons of time when it comes to formatting your book.
Now, without any further ado, let’s dive in?
Step 1 – Choose a Page Size that fits your requirements
Once you are on your word document,
This is where things get interesting! You have a plethora of page sizes to choose from. And, you need to think this through before freezing in on a size since this is one of the factors that will dictate your page counts.
You can choose a size that you feel suits your book. To change the paper size, go to:
- Layout > Size > More Paper Sizes.
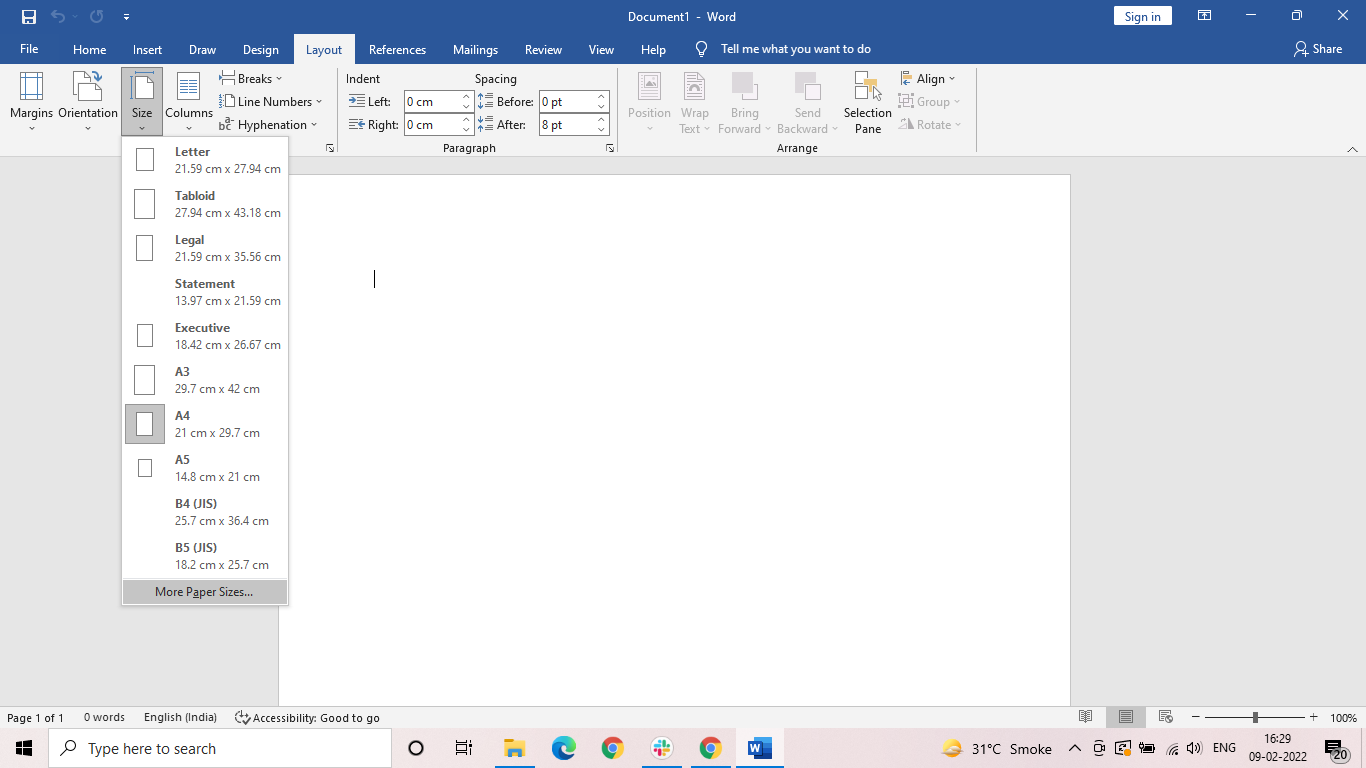
After clicking, you’ll land on the below tab.
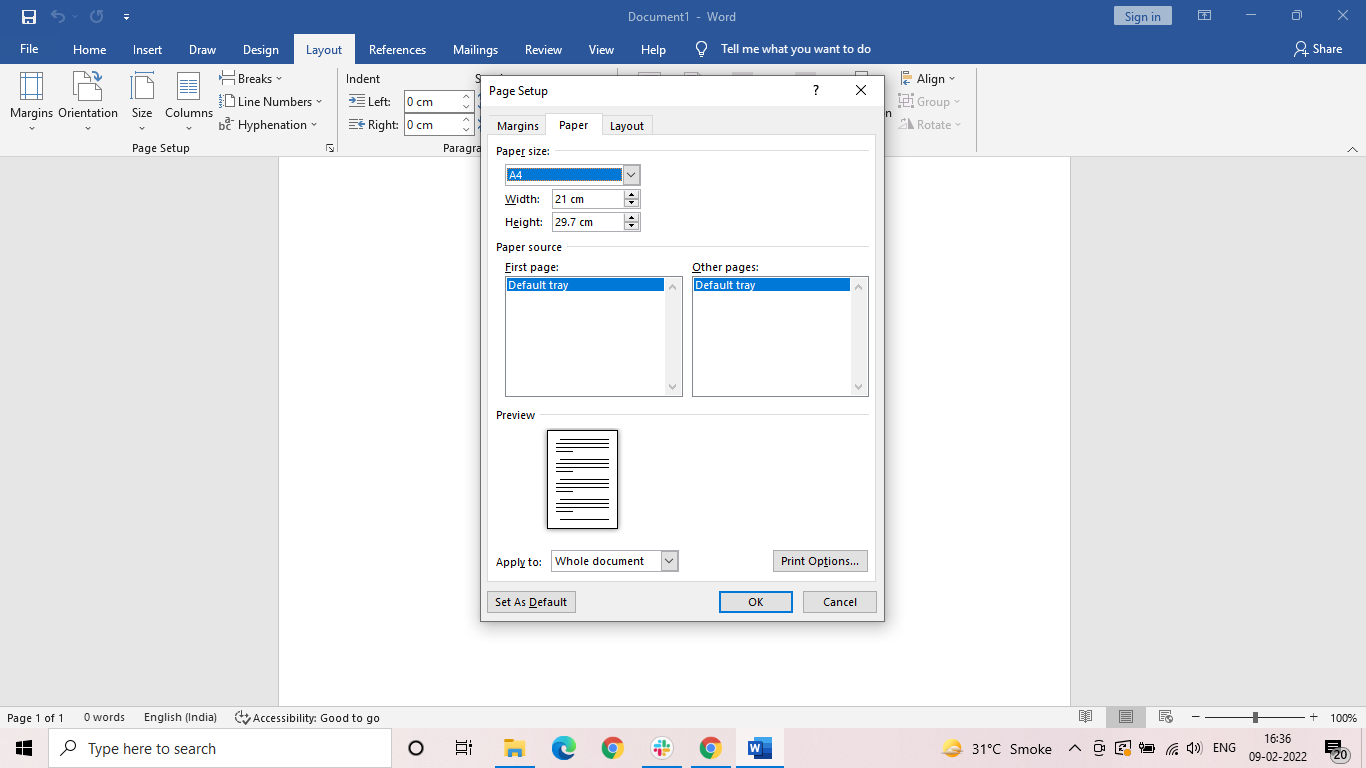
This tab will allow you to select the custom paper size for your book as per your needs. And, to do this you can use the dropdown box under the ‘Paper Size’ option. Moreover, you can also select the height & width of the paper depending on the measurement metrics you’re using (cm, mm, inches).
But, for now, we will use the default size 29.7cm high x 21cm wide for B-book formatting.
Once you’re done selecting the height & width, ensure you apply it to the whole document and then click on ‘OK’ to proceed.
Step 2 – Select a Page Margin Size as per your Book’s needs
This step is crucial as this will help in figuring out the space between the texts in your document and the space at the edges of your book.
However, it can be quite confusing when it comes to selecting an appropriate margin size for your book.
But, fret not!
You can sort this out by quickly referring to other books in the same category or genre and measure their margin size. And, depending on the size you like, you can select the margin.
To do this, go to:
- Layout > Size > More Paper Sizes > Margins.
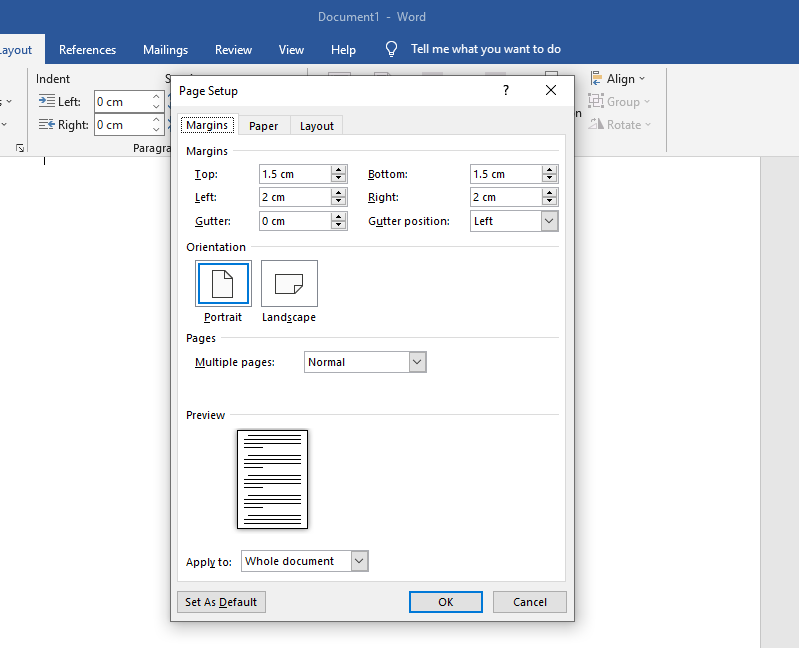
The default margin value is set at 2.54 cm. For this article’s purpose, we are going to select 2 cm left and right. 1.5cm top and bottom.
Setting your margins will provide your readers enough blank space to hold your book, enable you to include page numbers, & make the book more appealing to read.
And, after selecting an appropriate page margin, head over to……
Step 3 – Set the gutter position for your book
The Gutter size in the printing industry means deciding on which side you want your book to be bound.
In your word document, the gutter margins will enable you to add extra space to the normal margins. This will ensure that your text doesn’t get hampered and your reader’s experience stays intact once your book is bound together.
So, setting the gutter measurement will depend on the number of pages in your book. If your book has more than 350 pages, you could set it to 10mm. And, if it’s less than 100 pages – 5mm.
However, we recommend you have a look at other books in your genre or space to get a better picture and accordingly decide the gutter measurement.
And, for understanding purposes, here’s how to go about it:
- Layout > Size > More Paper Sizes > Margins
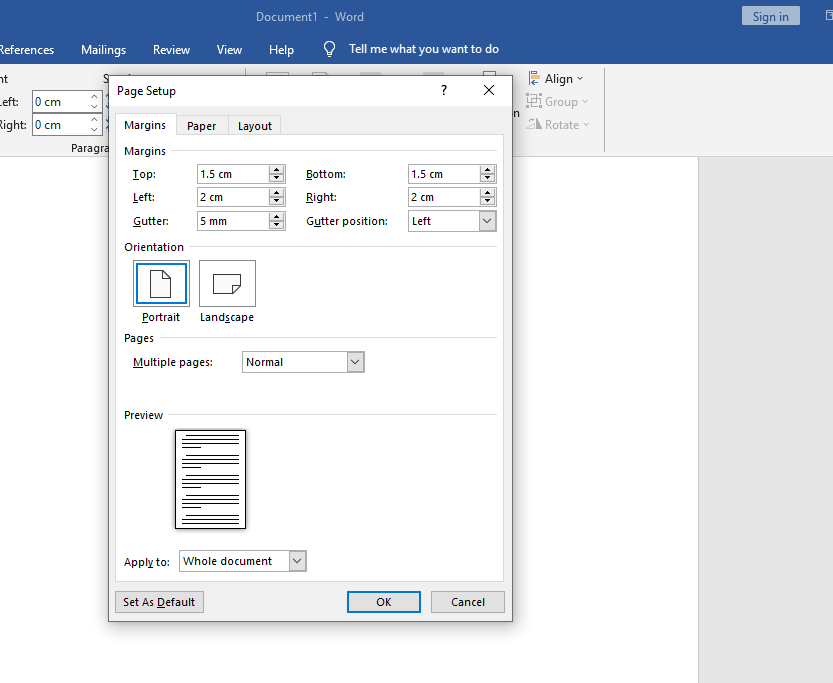
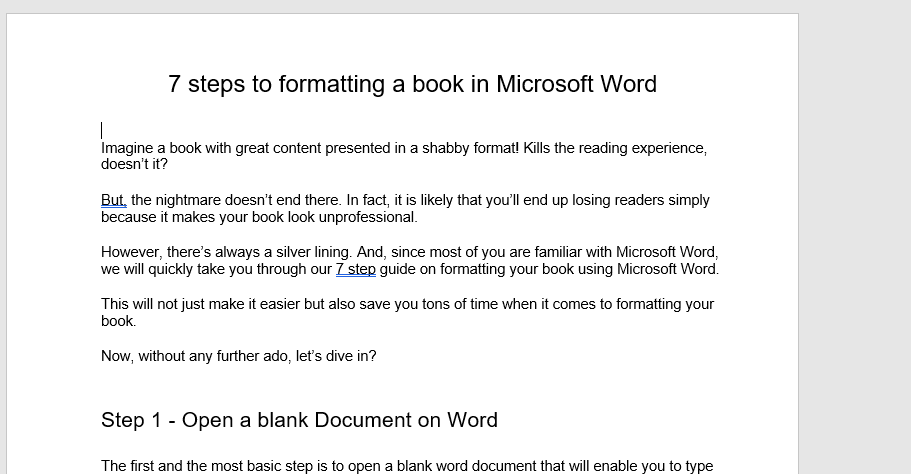
And, below is the image of how your word document should look after applying the settings.
Paragraphs
Just like the other settings, you also need to work on your paragraph styles. You can change the paragraph settings depending on your requirements. Again, we recommend you take a look at the other novel styles and then decide your paragraph styling.
But, here’s how you can go about it:
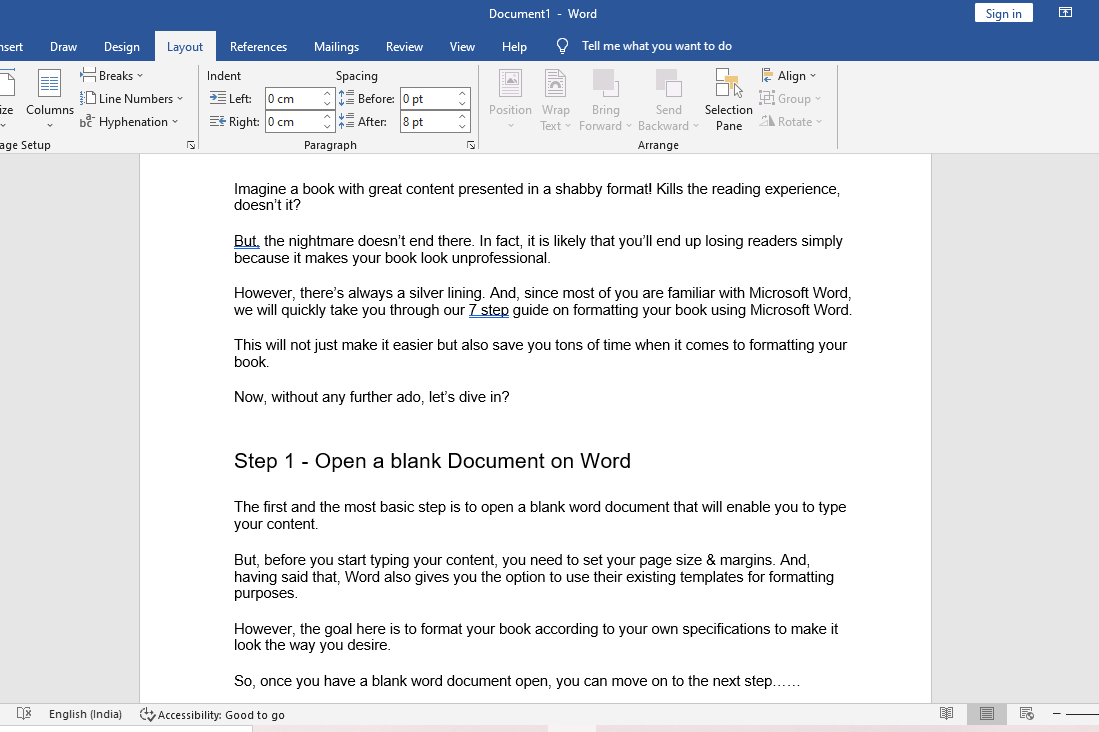
- Layout > Paragraph > Arrow underneath > Indents & Spacing
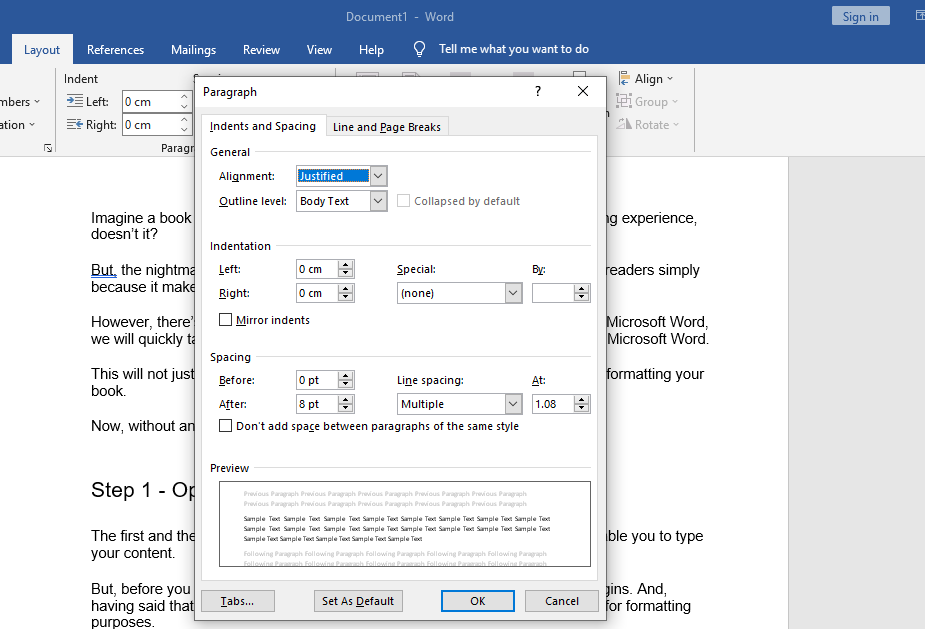
Using these settings, you can change the ‘Alignment’, Indentation, and also adjust your line spacings. Don’t forget to preview your changes before saving.
After you’re done setting your paragraph styles, the next thing is……
Step 4 – Focus on your Chapter Titles
Now, you also need to pay special attention to your chapter titles because they serve as milestones for your readers and help them keep track of their progress.
Ensure that your chapter titles stand out from the rest of your text by presenting them in a larger font size. Depending on your personal preference, you can set the font and size of your chapter title accordingly.
We would set it at 18pt.
Step 5 – Decide an appropriate Font Size for your Book
In this step, you now need to select a font size for the text. Remember, this is an important decision because it adds value and helps your reader flow from one letter to another in a smooth manner.
To change your font size, head on to the Home tab on your word document.
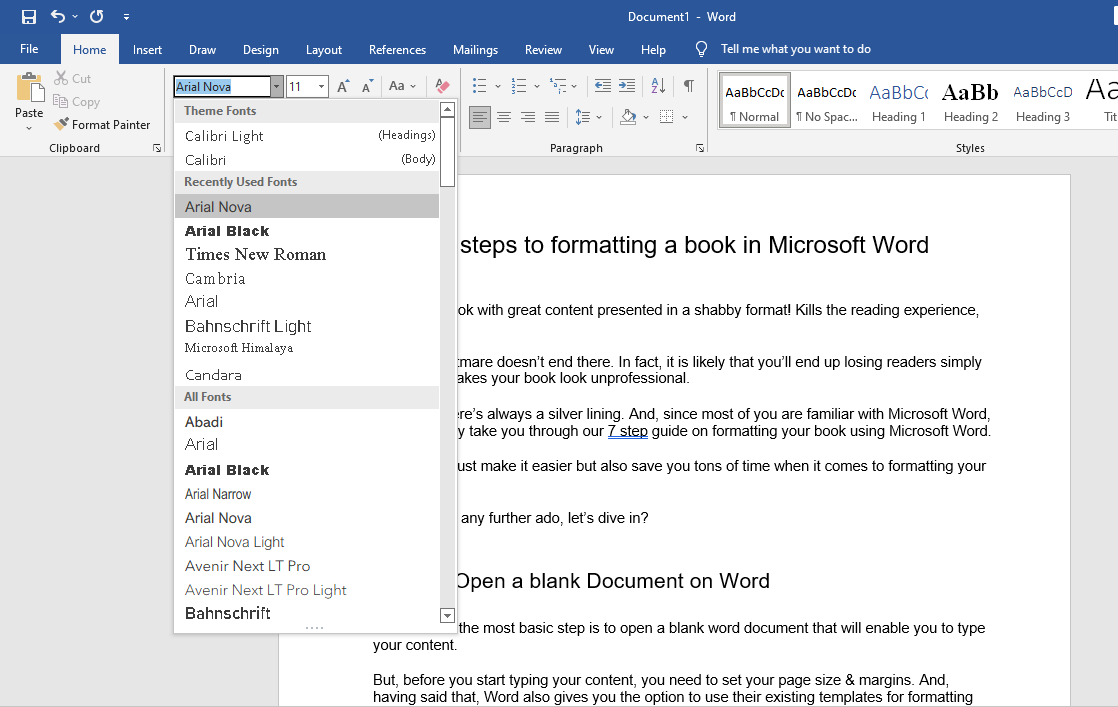
Now, there are tons of options available to you. We recommend you checkout popular font styles used for novels and accordingly select what works best for your book.
Page Numbers
Before we end, one last thing you need to tick off is – Page numbers. Adding page numbers is vital to books. And, to add pages, you can head on to:
- Insert > Page Numbers > Bottom of the page.
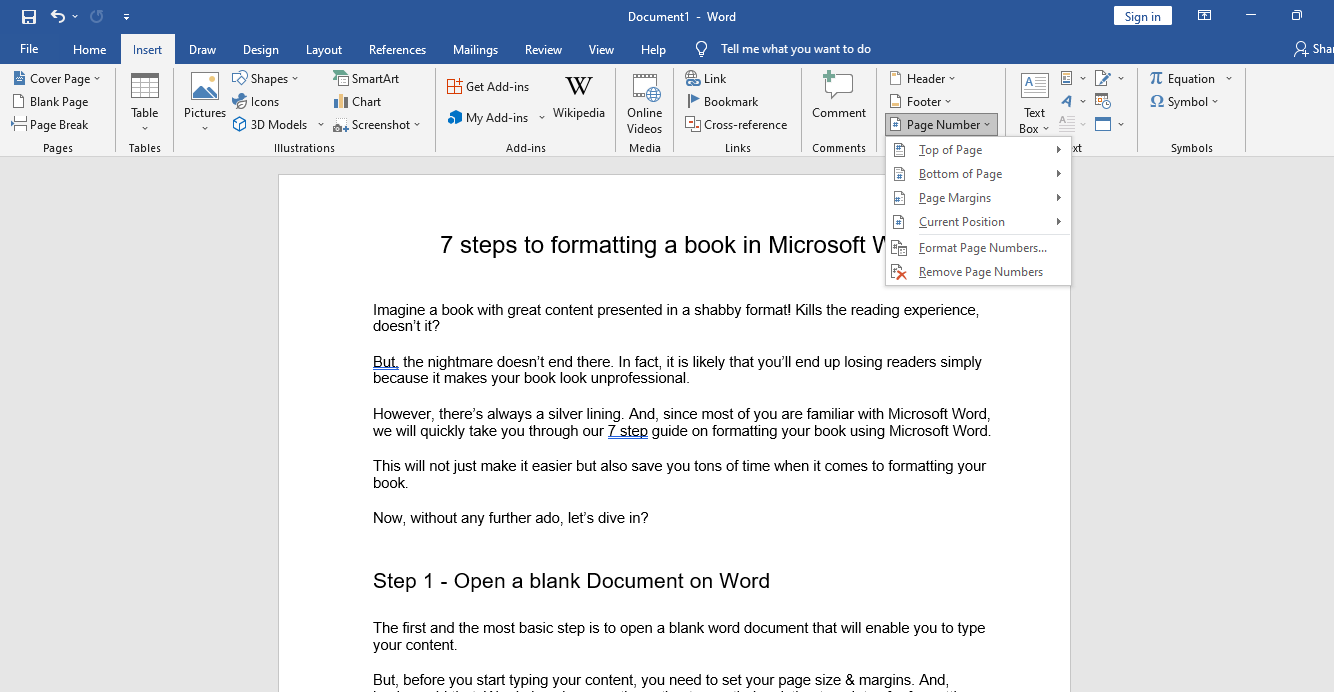
You can select where you want to include your page numbers – at the bottom or top of the page depending on your preferences.
Furthermore, you can also select whether you want the page number to appear in the middle, bottom right, or bottom left of the page. Moreover, you also need to decide the spacing for the page numbers in the Footer.
Once you are done with all your settings, this is how your book should look like:

Final Thoughts,
We hope this 5 step guide proved useful in helping you format your book in Microsoft Word. And, once you’re done formatting your book, you can directly export it as PDF and make it print ready.
And, if you still need further assistance with formatting your book, just reach out to us and we will help you format and put your book out there for people to read!
Also Read : Tips to Format your Book Manuscript
